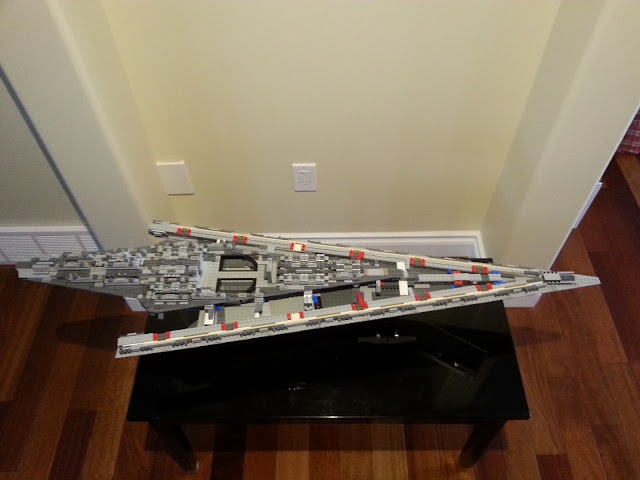
Last night saw the beginning of the work on the propulsion system for the SSD. We put together a couple of the engine banks and put them into place.
Also managed to do a fairly nice printout of the placard sticker and got that set up as well. It looks pretty sharp!
The SSD has grown to the point where it is quite unwieldy to move around for photo shoots. It's been really nice outside these past couple days so I may take it out today and get some shots of it in the driveway. At least, there won't be clutter in the background of the photos that way.
Mom also picked up a Slave I set yesterday. She said she was tempted by 3 things:
1 - it is also part of the Ultimate Collectors Series
2 - it is colorful (its got some green, dark red, and yellow)
3 - it "looks like a turkey drumstick" - those were her exact words
She is such a riot!
Rare & Retired. This refers both to the builders and the sets! We bring you honest feedback about sets that Lego has either retired or still has in production but has classified as "hard to find".
Thursday, 16 February 2017
Tuesday, 14 February 2017
Super Star Destroyer (10221) - Middle Section Complete
The "crumble" is done! I'm talking about the bumpy section in the middle of the ship that reminds me of the crumble on top of an apple crumble pie.
Mom is going to the dentist tomorrow and is already planning on stopping by the lego store. She claims she will just be browsing to see what other sets there are but I'm thinking she may give in to temptation and bring home another set. Not that I would complain about that. We are going to have to do some serious thinking about where to display all these builds!
It looks pretty amazing with the whole section done now. I can only imagine that the remainder of the build will be putting the top deck plates on and installing the engines.
Mom is going to the dentist tomorrow and is already planning on stopping by the lego store. She claims she will just be browsing to see what other sets there are but I'm thinking she may give in to temptation and bring home another set. Not that I would complain about that. We are going to have to do some serious thinking about where to display all these builds!
Monday, 13 February 2017
Super Star Destroyer (10221) - It Takes To The Air!
Well, not really - at least not like you might be imagining. It did get put up on supports to raise it off the table though, so there IS air between the bottom of the ship and the table ....
Made some decent progress this weekend - got a lot more of the greebling done in the center part of the vessel and of course, got the stands put together and attached. Here is a picture of one of the supports. They are pretty beefy but still classy looking!
And the vessel looks really majestic when it is raised up like that. It's going to be a treat to see when it is 100% done. We put together the placard (bottom right of the picture below) which typically would have a sticker attached detailing what the vessel is along with some technical specifications. I didn't buy stickers for this set (and wouldn't put them on even if I did - all that glue and limitation of re-buildability etc.) so for now, it's just going to sit as a plain black piece. That looks a little odd though so I'll see if I can print off a paper copy and just tape it on.
And a few closer shots so you can get a better look at the awesome greebling!
Made some decent progress this weekend - got a lot more of the greebling done in the center part of the vessel and of course, got the stands put together and attached. Here is a picture of one of the supports. They are pretty beefy but still classy looking!
And a few closer shots so you can get a better look at the awesome greebling!
Subscribe to:
Comments (Atom)


